Alternative (modern tool): Use Custom Resolution Utility (CRU) or HIDUSBF (a newer fork that works with Windows 11 without disabling signature enforcement).
Adjusting your USB mouse polling rate (also known as the "report rate") determines how often your mouse updates its position to your computer. While most modern gaming mice allow this via official software, older or non-gaming mice can often be "overclocked" using community tools. 1. Official Manufacturer Software (Easiest & Safest)
The most reliable way to adjust your rate is through the software provided by your mouse manufacturer. High polling rates like 1,000Hz provide the most fluid movement but can slightly increase CPU load on older systems.
Logitech: Download and install Logitech G HUB. Select your mouse, click the Sensitivity (DPI) icon, and change the Report Rate.
Razer: Use Razer Synapse. Go to the Performance tab and select your rate from the dropdown menu (125Hz, 500Hz, 1,000Hz).
SteelSeries: Open SteelSeries GG, select your mouse, and adjust the polling rate slider in the Performance settings.
Corsair: Use Corsair iCUE. Go to Device Settings and select your preferred rate. 2. Manual "Overclocking" for Older Mice
If your mouse doesn't have official software, you can use a driver-level tool like HIDUSBF to force a higher rate. This involves patching your USB port's report interval. How To Change Razer Mouse Polling Rate | Synapses Tutorial
To adjust your USB mouse polling rate, the recommended approach depends on whether you have a modern gaming mouse or an older/standard model. Most users should start with official software, while enthusiasts with older hardware typically use the "HIDUSBF" driver to "overclock" the USB port. Option 1: Official Manufacturer Software (Safest)
If you have a mouse from a major brand, use their official utility. This is the most reliable way to adjust settings without modifying system drivers.
Logitech: Use Logitech G HUB. Go to Sensitivity (DPI) and select a Report Rate (125, 250, 500, or 1000 Hz).
Razer: Use Razer Synapse 3. Navigate to the Performance tab and choose your rate from the dropdown.
SteelSeries: Use SteelSeries GG (Engine). Select your device and adjust the Polling Rate slider under settings.
Corsair: Use Corsair iCUE. Go to Device Settings and find the Polling Rate dropdown.
Option 2: Third-Party "Overclocking" (For Older/Standard Mice)
For mice that do not have official software support, the standard community tool is HIDUSBF by LordOfMice. How to Overclock a Mouse? | InGenium Web
Title: Optimizing Precision: A Guide to USB Mouse Rate Adjuster Setup and Functionality
In the competitive landscape of modern computing, particularly within gaming and graphic design, the precision of input devices is paramount. While high-end mice often come with sophisticated software drivers, many users seek to fine-tune their hardware at a system level. This desire for optimization has led to the popularity of "USB Mouse Rate Adjusters." This essay explores the mechanics of USB mouse polling, the process of downloading and setting up rate adjustment software, and the practical implications of these modifications. usb mouse rate adjuster setup download work
To understand the utility of a mouse rate adjuster, one must first grasp the concept of "polling rate." The polling rate refers to the frequency at which a computer queries the mouse for data, measured in Hertz (Hz). A standard mouse typically operates at a default polling rate of 125Hz, meaning the computer checks for input 125 times per second, resulting in a response time of 8 milliseconds. However, high-performance mice can operate at 500Hz (2ms) or 1000Hz (1ms). A "USB Mouse Rate Adjuster" is a specialized software tool designed to override these default settings, allowing users to force a specific polling rate regardless of the mouse's native hardware specification.
The "download" phase of this process is arguably the most critical regarding system safety. USB rate adjusters are often small, niche utilities developed by enthusiasts or third-party developers rather than major corporations. Consequently, they are rarely found on mainstream app stores. Users typically seek these tools from technology forums, hardware enthusiast communities, or specialized gaming websites. When downloading such software, vigilance is essential. Because these tools function by modifying system-level drivers, they require deep system permissions. Downloading from an unverified source poses a significant risk of malware or system instability. Therefore, the "work" of downloading involves rigorous verification of the file source and scanning the file for malicious code before execution.
Once a legitimate tool is acquired, the "setup" process involves more than just a simple installation. Unlike standard applications that run in the user space, USB rate adjusters often patch the Windows USB driver stack. The user interface of these tools is usually straightforward, presenting a simple slider or input box to change the polling rate (e.g., changing from 125Hz to 1000Hz). However, the backend work is complex. The software modifies the usbport.sys or similar system drivers, which dictates how the operating system handles USB interrupts. This modification almost always requires a system restart to take effect. Furthermore, because these changes are deep-seated, the setup process carries a risk of "bricking" the USB ports if the user selects an unstable rate or if the hardware cannot handle the increased speed.
The "work" performed by the software—and the tangible results felt by the user—is the ultimate goal of the setup. When successfully configured, a higher polling rate results in smoother cursor movement and reduced input lag. For a gamer playing a fast-paced first-person shooter, the difference between 125Hz and 1000Hz can be the difference between a missed shot and a hit. The cursor tracks hand movements more faithfully, eliminating the micro-stutters associated with lower polling rates. However, there is a trade-off: higher polling rates require more CPU resources to process the increased stream of data. On older computers, forcing a high polling rate can actually degrade performance, causing system stuttering. Therefore, the "work" of the software is a balancing act between responsiveness and system load
To get the USB Mouse Rate Adjuster (commonly based on the driver) working on modern versions of Windows, you need to navigate a few "deep" technical hurdles, primarily involving driver signing and test mode. 1. Downloading and Preparation The most reliable and up-to-date version is hosted by LordOfMice/hidusbf GitHub repository Extract the Files
: Unzip the folder to your desktop or a permanent location like C:\Program Files\USB Mouse Rate Adjuster Install the Certificate
: Modern Windows will block the driver because it isn't "officially" signed for latest versions. SweetLow.cer certificate file. Right-click it and select Install Certificate Current User
Place it in the "Trusted Root Certification Authorities" store. InGenium Web 2. Enabling Test Mode (Crucial Step)
Windows 10 and 11 strictly enforce driver signatures. To bypass this for a mouse overclock, you must enable Command Prompt as Administrator. Type the following and press Enter: bcdedit /set testsigning on Restart your PC
. You will see a "Test Mode" watermark in the bottom-right corner of your desktop. 3. Setting Up the Adjuster Navigate to the folder and right-click HIDUSBF.inf , then select as Administrator. In the software: Mouses Only Find your mouse in the list (it should be highlighted). Filter On Device Select your desired rate (e.g., ) from the drop-down. Install Service , then click InGenium Web 4. Verifying It Works To confirm the change, use a tool like the Direct Input Mouse Rate Tool (mouserate.exe)
or an online polling rate checker. Move your mouse rapidly; the average should now hit your target speed. Coding Horror Troubleshooting Note:
If your mouse stops working entirely during setup, you can unplug and re-plug it, or use your keyboard to navigate to the setup and uncheck "Filter On Device" to revert changes. mouse hardware is capable of reaching these higher polling rates?
Adjusting your USB mouse polling rate (report rate) or sensitivity typically involves either official manufacturer software or built-in Windows settings. 1. Adjusting Polling Rate (Report Rate)
The polling rate is how often your mouse reports its position to the computer (measured in Hz). Higher rates (500Hz or 1000Hz) are smoother for gaming.
Official Software: Most gaming brands require specific software to change this. For example, gamers use Logitech G HUB to navigate to "Sensitivity (DPI)" and adjust the Report Rate from 125Hz to 1000Hz.
Third-Party Tools: If your mouse doesn't have official software, some users use tools like HIDUSBF to "overclock" the USB port rate, though this is advanced and can be unstable on some systems. 2. Adjusting Pointer Speed (Sensitivity)
If "rate adjuster" refers to how fast your cursor moves, you can do this directly in Windows without downloading extra files. Install the driver :
Windows 11: Go to Start > Settings > Bluetooth & devices > Mouse and use the Mouse pointer speed slider.
Windows 10: Go to Settings > Devices > Mouse > Additional mouse options. Under the Pointer Options tab, adjust the slider. 3. Troubleshooting Setup & Drivers
If your mouse isn't working or you need to "reset" the setup:
Automatic Install: Most USB mice are plug-and-play. Plugging them into a USB 2.0 or 3.0 port should trigger an automatic driver installation.
Reinstall Drivers: If it fails, right-click the Start button > Device Manager > Mice and other pointing devices. Right-click your mouse and select Uninstall device, then restart your computer to let Windows reinstall it automatically.
Hardware Check: Ensure you are plugging directly into the PC rather than a non-powered USB hub if you experience lag or connectivity issues.
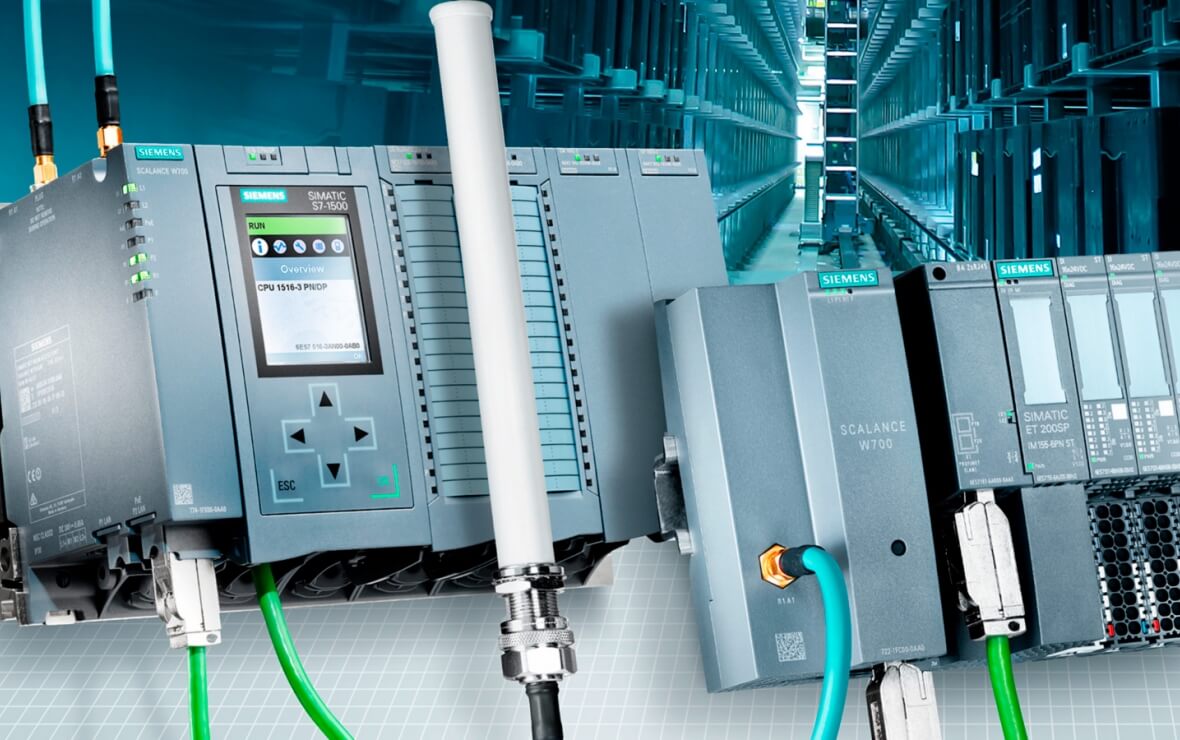
To help you find the right software, what is the brand and model of your mouse (e.g., Logitech G502 Go to product viewer dialog for this item. Razer DeathAdder Go to product viewer dialog for this item.
Title: Fixing Lag & Smoothing: The Ultimate Guide to USB Mouse Rate Adjustment
Are you experiencing mysterious cursor lag, negative acceleration, or a "floaty" feeling in your mouse movements? You might be running your mouse at a default polling rate that doesn't match your gameplay needs.
Many gamers and graphic designers seek out tools to tweak their hardware, leading to the search term "usb mouse rate adjuster setup download work." While the intention is to make your mouse faster and more responsive, downloading random "adjuster" tools can be risky and unnecessary for modern hardware.
In this guide, we will cover the safe ways to adjust your mouse polling rate, how to ensure the setup actually works, and the best software to download today.
If you want to change your mouse’s USB report/polling rate (commonly 125 Hz, 500 Hz, 1000 Hz or higher) to reduce input lag or match gaming needs, here’s a concise, safe guide for downloading and configuring a polling-rate adjuster and verifying it works.
For some mice, the adjustment resets on reboot. To make it stick:
Warning: Incorrect registry edits can cause your mouse to stop working. Create a system restore point first.
The USB Mouse Rate Adjuster is a powerful, niche tool for enthusiasts and budget gamers. It won’t turn a $5 mouse into a Logitech G Pro, but it can unlock hidden potential in many generic or older gaming mice. The key is testing first, adjusting cautiously, and monitoring for stability.
Safe download reminder again: Only get it from Guru3D, TechPowerUp, or GitHub. Run a security scan. And always keep your original mouse drivers handy in case you need to revert.
Have you successfully overclocked your mouse’s polling rate? Share your results and before/after Hz graphs in the comments below! Reboot your PC
Always ensure that you're downloading software from the official manufacturer websites or reputable sources to avoid any potential security risks.
USB Mouse Rate Adjuster: Complete Setup and Download Guide Whether you are a competitive gamer aiming for zero latency or a professional seeking smoother cursor movement, a USB mouse rate adjuster is a vital tool for fine-tuning your hardware's performance. By modifying the "polling rate" (or report rate), you control how frequently your mouse communicates its position to your computer. What is Mouse Polling Rate?
Measured in Hertz (Hz), the polling rate determines the frequency of data reports sent by your mouse:
125 Hz: The mouse updates every 8ms. This is standard for basic office mice.
500 Hz: The mouse updates every 2ms, a common sweet spot for casual gaming.
1000 Hz: Updates every 1ms. This is the gold standard for competitive gaming on modern PCs.
8000 Hz: Specialized "ultra-fast" rates for high-end gaming rigs, though they can increase CPU load. Best Methods to Adjust Your Mouse Rate 1. Official Manufacturer Software (Recommended)
The safest and most reliable way to adjust your rate is through official software provided by your mouse's brand. Logitech G Hub
: Select your device and navigate to the Sensitivity (DPI) icon to find the "Report Rate (per second)" dropdown. Razer Synapse
: Open the app, select your mouse, and go to Performance > Polling rate. SteelSeries GG
: Use the Engine tab to find the report rate menu on the right. Corsair iCUE
: Under Devices, click Settings then the Mouse icon to select your polling rate. 2. Hardware-Based Adjusters
Setting up a USB mouse rate adjuster is a classic "overclocking" ritual for gamers using older or budget hardware. By increasing the polling rate, you reduce input lag and make cursor movement feel much smoother on high-refresh-rate monitors. The Goal: From Sluggish to Snappy
Most standard office mice report their position to the computer 125 times per second (125Hz), which creates about 8ms of delay. Adjusting this to 1000Hz drops that delay to just 1ms. Step-by-Step Setup Guide
If you are using a non-gaming mouse or an older model without dedicated software, follow this standard procedure using a tool like LordOfMice's HIDUSBF.
The process of adjusting a USB mouse's polling rate (or "overclocking") typically involves using the driver utility
. This tool is used to bypass the default Windows 125Hz limit for standard USB mice to achieve higher rates like 500Hz or 1000Hz, which reduces input lag. Step-by-Step Setup Easy 1000Hz Polling Rate for Any Mouse Without OEM Software
This is where many old guides go wrong. The USB Mouse Rate Adjuster was built for Windows XP’s USBPORT.SYS. Modern Windows uses USBXHCI.SYS (eXtensible Host Controller Interface).